Learning Adobe Illustrator 2024
by Greg Bowden (630 pages)
 |
The Learning Adobe Illustrator 2024 tutorials provide activity-based drawing and design lessons to teach or learn Adobe Illustrator 2024.
Tutorials for Adobe Illustrator CC 2020, CC 2017 and 2014 are also available, contact us if you prefer those.
The tutorials are provided in two modules:
Module 1 introduces the Adobe Illustrator 2024 basics. Module 2 covers advanced Adobe Illustrator 2024 features.
|
There are chapter descriptions and more details below, and a sample book with the first few pages of each chapter can be downloaded from the following zip file: |
|
Prices (Including GST)
Prices are in Australian dollars and include GST. For purchases outside Australia, the 10% GST (tax) is removed from the price. |
||||
If you are purchasing using a school Purchase Order Number, please complete the Order Form. |
||||
If you are purchasing using a Credit Card or PayPal, select the ADD TO CART button next to the required module. |
||||
Illustrator 2024 Module 1 Single-user, $15.40 |
Illustrator 2024 Module 1 Multi-user, $176.00 |
|||
Illustrator 2024 Module 2 Single-user, $15.40 |
Illustrator 2024 Module 2 Multi-user, $176.00 |
|||
- Chapters and Sample Pages
- More Details
Module 1: Illustrator 2024 Basics
Contents (Modules 1 and 2) |
view pages (696k) |
Chapter 1: Introduction to Adobe Illustrator (30 pages) |
|
Chapter 2: Entering Text (30 pages) |
View sample pages (1.65 Mb) |
Chapter 3: Combining Objects into Designs (12 pages) |
|
Chapter 4: Drawing and Painting Tools (22 pages) |
View sample pages (1.4 Mb) |
Chapter 5: Using the Blob Brush Tool (16 pages) |
|
Chapter 6: Shape Edits. Fills and Effects (33 pages) |
View sample pages (1.98 Mb) |
Chapter 7: The Shaper Tool (19 pages) |
View sample pages (1.83 Mb) |
Chapter 8: The Shape Builder and Knife Toosl (15 pages) |
|
Chapter 9: Images and Symbols (27 pages) |
View sample pages (1.37 Mb) |
Chapter 10: Image Tracing (20 pages) |
|
Chapter 11: Distorting Shapes (25 pages) |
View sample pages (1.82 Mb) |
Chapter 12: Blends and Paths (22 pages) |
|
Chapter 13: Using Layers (20 pages) |
|
Module 2: Illustrator 2024 Advanced Exercises
Chapter 14: Perspective Drawing (28 pages) |
View sample pages (1.2 Mb) |
Chapter 15: Creating 3D Objects (30 pages) |
View sample pages (1.2 Mb) |
Chapter 16: Text to Vector Graphic Generator (21 pages) |
View sample pages (1.16 Mb) |
Chapter 17: Shadows and Reflections (12 pages) |
|
Chapter 18: The Pen Tool (26 pages) |
View sample pages (1.67 Mb) |
Chapter 19: The Curvature Tool (14 pages) |
|
Chapter 20: Adding Content to 3D Objects (22 pages) |
View sample pages (1.2 Mb) |
Chapter 21: Using Envelopes (20 pages) |
View sample pages (1.26 Mb) |
Chapter 22: Creating Masks (17 pages) |
|
Chapter 23: Art, Pattern and Bristle Brushes (19 pages) |
|
Chapter 24: The Mesh Tool (12 pages) |
|
Chapter 25: Multiple Artboard Documents (27 pages) |
View sample pages (1.43 Mb) |
Chapter 26: Accurate Designs (24 pages) |
View sample pages (1.6 Mb) |
Chapter 27: Useful Tools (26 pages) |
|
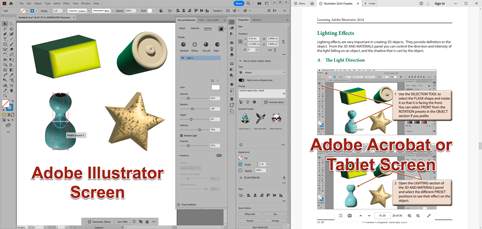
The tutorials can be used onscreen next to the software package, from a tablet or printed.
Assignments are provided at the end of each chapter.
Support files that provide all the images and data required to complete the activities are included with the product. |
 |
Module 1
Introduces the different components of the Illustrator screen, drawing simple shapes, using the Ruler and Grid, entering and formatting text, managing fonts and font types, copying and moving objects, using the Smooth features, using the Paintbrush, Pencil Width and Blob Brush Tools, using Image Trace, applying Fill and Gradient effects including Freeform Gradients, creating 3D shapes, using the Shaper Tool, applying blends, adjusting Paths, combining shapes using the Shape Builder and Knife Tools, using images and symbols, editing symbols, Live Tracing, applying distorting effects on shapes including the using the Puppet Warp Tool and using layers.
Module 2
Covers creating drawings using the Perspective Grid, creating 3D objects and adding content to them, generating images using the Text to Vector Graphic generator, adding shadows and reflections to objects, using the Pen and Curvature Tools, applying the Mesh Tool, displaying shapes in an envelope, creating masks, using Art, Pattern and Bristle brushes, using multiple Artboards in documents, using the Artboard Tool, creating accurate designs, exporting images for the web, intertwining objects, drawing graphs, adding arrowheads to lines, applying Photoshop effects and applying Graphic Styles.
Module 1 Chapter Descriptions
Chapter 1: Introduction to Adobe Illustrator
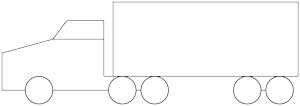
This chapter introduces the Adobe Illustrator screen, its Toolbar and its different workspaces. The basic tools for drawing lines, arcs, rectangles, ovals, polygons, stars, etc, are introduced, and students are shown how shapes created using these tools can be edited. An example of one of the designs created is:
Chapter 2: Entering Text
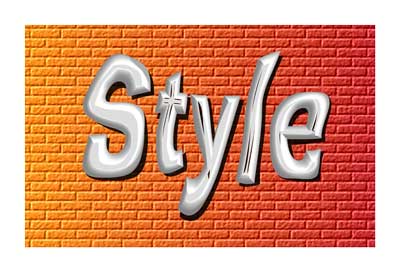
This chapter demonstrates some of the Type tools that Illustrator provides. This includes selecting fonts, font sizes, font styles and font colours, point text and area text, the Touch Type Tool, entering vertical text, entering text along a path, wrapping text around a shape and rotating text. Also, Illustrator's font management tools are demonstrated along with variable fonts and using glyphs. Text is combined with shapes to create posters or flyers:

Chapter 3: Combining Objects into Designs
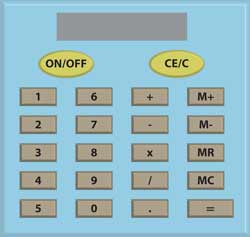
This chapter demonstrates how to combine text and shapes to produce more complex designs. It covers grouping objects, duplicating objects, adding 3D effects, using Rulers and grids, etc.
Chapter 4: Drawing and Painting Tools
This chapter introduces the Pencil Tool, the Smooth features, the Eraser Tool, the Width Tool, the Paintbrush Tool, the Live Paint Bucket and the Join Tool, and demonstrates how to use them to create artwork.

Chapter 5: Using the Blob Brush Tool
This chapter introduces how to use the Blob Brush Tool to enhance the creation of artwork. It covers painting shapes, combining shapes into the one shape and adjusting text.

Chapter 6: Fills, Gradients and Effects
Demonstrates how to apply fills and strokes to shapes, how to use the Gradient panel and the Gradient Tool to apply different types of gradient fills, stroke fills and freeform gradients, how to apply style effects on shapes and how to use the Rotate Tool to create circular shapes. The assignment gets students to design an alloy wheel for a car.

Chapter 7: The Shaper Tool
Demonstrates how to draw standard shapes by drawing rough freehand sketches on the Artboard using the Shaper Tool. Students are then shown how to edit and combine shapes using the Shaper Tool to produce an object such as a key.

Chapter 8: The Shape Builder and Knife Tools
This chapter demonstrates how to use the Shape Builder Tool to combine shapes, remove parts of shapes and fill areas between connected shapes and the Knife Tool to cut shapes into segments.
Chapter 9: Images and Symbols
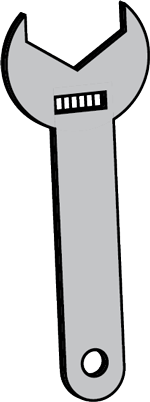
Demonstrates how to place images and symbols on the Artboard, how to edit images, how to open the Symbol Libraries and how to use the symbol tools - Symbol Sprayer, Symbol Shifter, Symbol Scruncher, Symbol Sizer, Symbol Spinner, Symbol Stainer, Symbol Screener and Symbol Styler. Students are shown how to edit Symbols, use Dymanic Symbols and create a scene by combining multiple symbols.

Chapter 10: Image Tracing
This chapter covers how to use the Image Trace command to trace scanned hand-drawn sketches or images. It covers tracing the scan, applying thresholds, advanced adjustments, expanding the result into an Illustrator object, applying Live Paint, checking for gaps and adding backgrounds to the trace. How to use Live Trace with photos is also covered.


Chapter 11: Distorting Images
Demonstrates how to distort images and text using the Free Transform Tool, the Liquify Tools and the Puppet Warp Tool.

Chapter 12: Blends and Paths
Demonstrates how to use the Blend Tool to blend shapes, colours, effects and symbols to combine shapes together, and how to use the Pathfinder panel to create and edit shapes.

Chapter 13: Using Layers
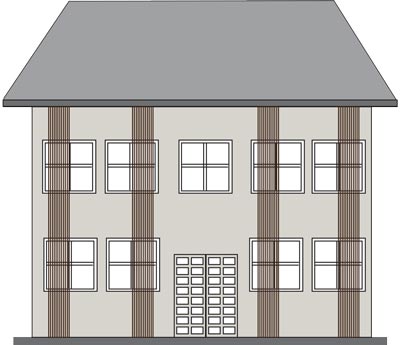
Introduces the Layers panel and how to create designs using layers. It includes how to create a new layer, rename a layer, layer options, locking layers, turning the visibility of layers on or off, and deleting layers. A sketch of a house is created with separate layers for the structure, doors, windows, etc.
Module 2 Chapter Descriptions
Chapter 14: Perspective Drawing
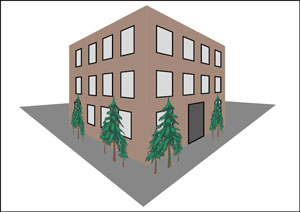
This chapter covers how to use the Perspective Grid Tools to create drawings with depth. The components of the Perspective Grid are covered along with how to draw objects on the grid, how to insert symbols and images, and how to use the Perspective Selection Tool to move images and make adjustments to objects. The following building sketch is created.
Chapter 15: Creating 3D Objects
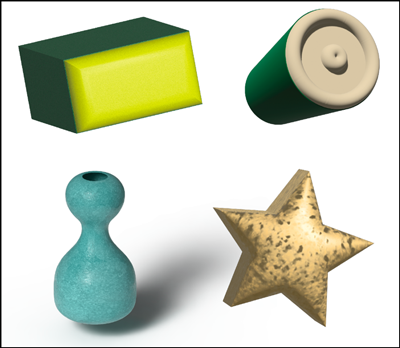
Demonstrates how to create 3D objects using the 3D and Materials Panel. Students are shown how to extrude, revolve and inflate shapes. Materials are applied to the shapes and the material properties adjusted. Lighting and shadow effects are added and 3D text is created. Once a shape is completed, students are shown how to apply Ray Tracing to the shape to render it to a high quality image. The following objects are created.
Chapter 16: The Text to Vector Image Generator
Students are shown how to use the Text to Vector Graphic generator to add subject images, scenes, icons and patterns to documents. Scene and subject vector graphics are combined to create the following scene:

Chapter 17: Shadows and Reflections
Shadows are applied to an image using the Drop Shadow Effect and manually using the Free Transform Tool. Reflections are applied to an image by creating an opacity mask.

Chapter 18: The Pen Tool
Students are shown how to use the Pen Tool to create straight and curved lines, how to adjust anchor points on a line and how to add anchor points, delete anchor points and how to position anchor points as they are drawn. The Pen Tool support keys (Spacebar, Shift, Alt or Option, Ctrl or Command) are demonstrated and an object is traced to apply the Pen Tool.

Chapter 19: The Curvature Tool
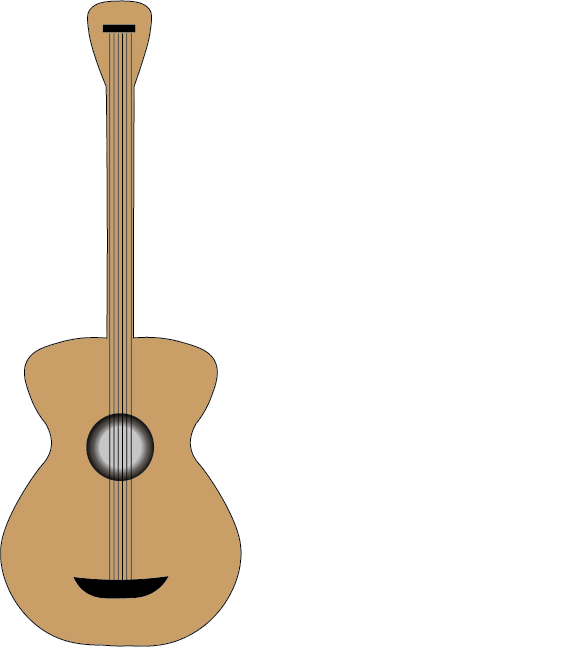
Demonstrates how to use the Curvature Tool to create curved and straight paths, and highlights the difference between it and the Pen Tool. Half an object is created and reflected to complete the shape.
Chapter 20: Adding Content to 3D Objects
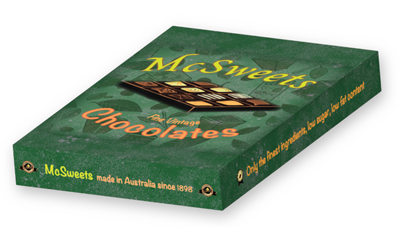
Students are shown how to use the 3D and Materials Panel to add text and images to the sides of 3D objects and to curved objects. Also, the Mockup feature is demonstrated where the position of an object on a 3D shape can be experimented with.
Chapter 21: Using Envelopes
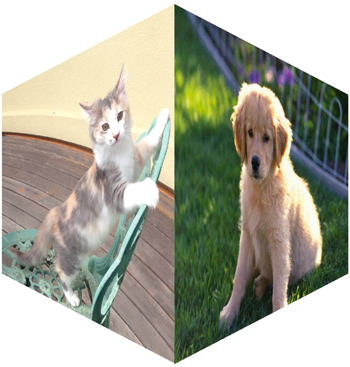
Demonstrates how to display images and sketches within other shapes (envelopes). It includes creating envelopes, distorting images, envelope warps, applying meshes to envelopes and how to add images to perspecting drawings and 3D objects by placing them in envelopes.
Chapter 22: Creating Masks
This chapter demonstrates how to create Opacity Masks and Clipping Masks so that part of a sketch is viewed within a shape.

Chapter 23: Art, Pattern and Bristle Brushes
This chapter covers how to use the artistic brushes that Illustrator provides to create paint-like images. Students are shown how to use the Art Brush to paint symbols and images onto the Artboard, how to use the Pattern Brush to add artistic borders to shapes, how to use the Bristle Brushes to create art strokes and blend colours, and how to use the Artistic Brushes panel. The brushes are then combined to create a scene.

Chapter 24: The Mesh Tool
Demonstrates how to use the Mesh tool to creating realistic fill effects on shapes. Single and multiple meshes are applied to create a sphere, and meshes are added to the traced object created in Chapter 18.

Chapter 25: Multiple Artboard Documents
This chapter demonstrates how to create documents that have multiple Artboards (pages). A two-page publicity document for a real estate company is created. It includes using the Artboard Tool to add or delete Artboards, create Artboards of different sizes, duplicating Artboards and laying out Artboards to create six-sided pamphlets.

Chapter 26: Accurate Designs
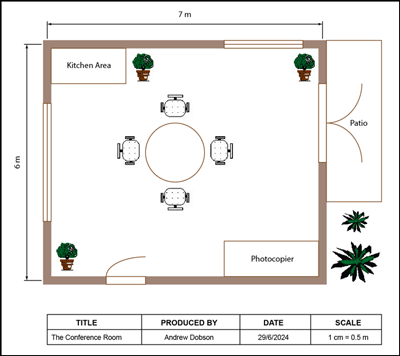
The CAD capabilities of Illustrator are used to created scaled diagram of a Conference Room. The scale is determined at the start and content accurately drawn and positioned. It includes the use of layers, rulers, grids, placing objects and using the Dimensions Tool to add dimensions to the drawing based on the set scale.
Chapter 27: Useful Tools
To complete the module some of Illustrator's handy tools are demonstrated, including saving images for the web, intertwining objects, saving documents in different formats, drawing graphs, adding arrowheads to lines, using Photoshop effects and saving styles.
| Home | Products | iPad | Downloads | Testimonials | Ordering | Contact Us |